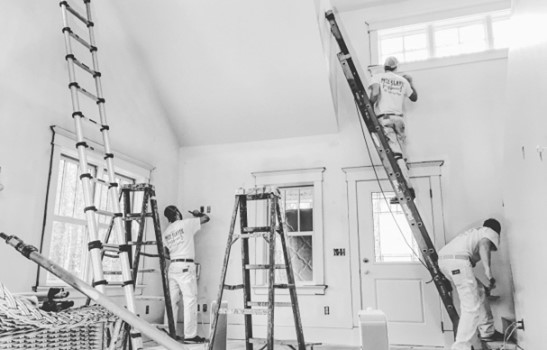
You’ve heard the saying before: Fail to prepare—prepare to fail. But whether it’s because prep work is viewed as an unnecessary expense or it just boils down to impatience, many home improvers fail to properly prepare their surfaces before applying paint. We sat down with TOH painting pro Nick Slavik to find out how important it is to take the time to prep and prime.
In your experience, how important is surface prep to the outcome of your finished project?
NS: It’s almost a cliché at this point: Preparation is the most important part of a painting project. But I’ve been a craftsman for more than 25 years now, and I can tell you, without question, that the biggest difference between a pro paint job and an amateur paint job is the willingness and thoroughness of prep. I spend nearly 25 hours prepping the average kitchen-cabinet enameling project before I even touch primer—so believe me, I’m very anxious to get some top coat on a project. But experience has taught me to be patient, do the prep I know I have to do, and let the process run its course. Undoubtedly, when the prep is done I’m satisfied beyond measure, and I’m always thankful I took the time to do it right.
Can you share the steps of your typical prep process?
NS: The most important part of prep? Primer. Choosing the right primer will provide a final product that adheres perfectly, blocks stains from bleeding, and fills porous surfaces for a smooth finish. But before you prime, you must assess the substrate. Let’s use the exterior of a wood home for an example. If there is peeling paint, gray, decaying wood fibers, surface dirt, or powdery mildew on the siding, you must address that first. Washing will remove the dirt and mildew; scraping and sanding will take care of the peeling paint and dead wood fibers. Yes, these extra steps will add quite a bit of time to your project. But if you were to prime and paint directly over an unsuitable substrate, your coating would fail within six months. Not great for morale and not great for business. Once you have a stable, clean, dry, and smooth substrate, then it’s time to prime!
What kind of primer to use, and when?
NS: Here’s what I’ve learned over my two-plus decades of experience as a professional painter:
- Oil-Based Primer: Those orange stains that bleed through painted wood surfaces are tannic acid, which is water-soluble. That means that water will activate the tannins and bring them to the surface. Water-based primers and top coats will not block these stains, but an oil-based primer will. Apply liberally, with the purpose of filling the pores, and create an even layer to block the stains. And be patient—allow it to dry properly before you apply your top coat.
- Water-Based Primer: For just about any other surface, I prefer a water-based primer. Water-based primers can be used on a wide variety of interior and exterior surfaces—plaster, drywall, masonry, stucco, and more—promoting adhesion, mildew resistance, and sealing. They also have a very mild odor, as they are lower in VOCs, and they tend to dry quickly, so you can start painting sooner.
What distinguishes your preparation methods from those of other pros you know?
NS: I differentiate myself from other new-construction painters with my drywall finishing process. Too many professional painters apply just one coat of paint; what you’re left with is a flat, chalky surface that you can’t clean, and leaves a trail of fingerprints if touched. A sad state of affairs. To avoid this, first I remove all the drywall dust. Then I prime all the new walls and ceilings, sand the primer smooth, and apply two top coats of a luxurious, durable matte or eggshell finish.
Any parting words of advice?
NS: Take it from someone who loves this trade intensely: If you take the time to prep and prime first, you’ll enjoy an indefinitely longer-lasting and more beautiful finish. Every project is worth it—I’ve staked my reputation on it.
You can also check out this article on the This Old House! Website
Prep for Success: Tips for a Pro-Level Paint Finish


